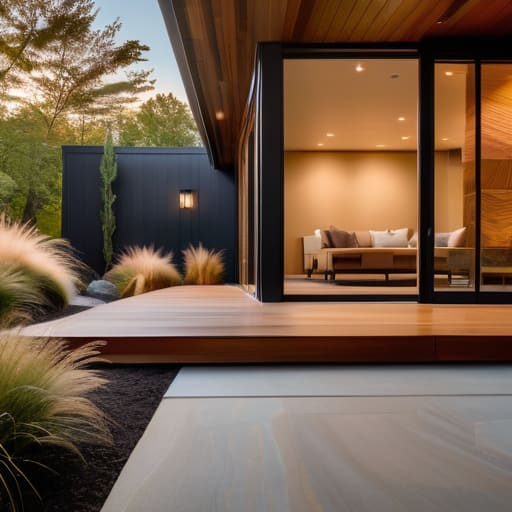
I’ve spent more hours than I’d like to admit staring at a hollow oak box, wondering why it looks like a starter base and not a real home. You see these massive tutorials online promising that “layering” or “color palettes” are the secret, but half of them are using outdated version mechanics or, even worse, relying on custom texture packs to do the heavy lifting. If you’re trying to figure out how to build a house that looks finished without a resource pack masking your mistakes, you eventually hit a wall where the structure just feels empty. It’s frustrating to follow a guide only to realize the blocks they used don’t even exist in the current build.
I’m not going to give you any of that fluff. My rule is simple: if I haven’t personally placed the blocks and tested the lighting on the current version, I’m not writing about it. I’m going to show you the specific, mechanical ways to add depth and detail using only vanilla assets. We are going to focus on the actual geometry and block placement that makes a build feel intentional rather than accidental. No hype, no shaders, just tested methods that actually work.
Table of Contents
Mastering Material Transitions in Home Design
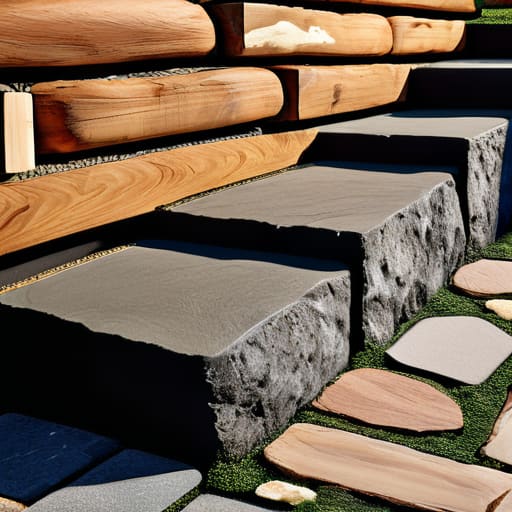
The biggest mistake I see in most survival builds is the “monolith” effect—using one block type for an entire wall and hoping for the best. It looks flat, and it looks amateur. To fix this, you need to focus on material transitions in home design. If you’re moving from a stone foundation to a wood frame, don’t just slap the logs against the cobblestone. I always use a transition layer, like an extra row of stairs or slabs, to break up that harsh vertical line. It mimics how real-world structures handle weight distribution, and in Minecraft, it’s the only way to stop your base from looking like a giant, untextured cube.
I also spend a lot of time on the exterior facade textures to ensure the house doesn’t just look like a box dropped into a biome. Instead of a flat oak wall, I’ll mix in some stripped logs or even some coarse dirt at the base to ground the build. If you ignore the way materials meet at the corners or the roofline, you’ll never actually achieve that “completed” look you’re aiming for.
The Truth About High End Construction Finishing Touches
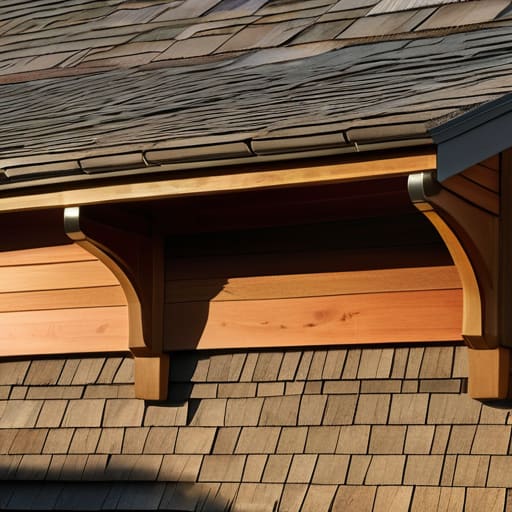
Most people think they can just slap a roof on a box and call it a day, but that’s exactly how you end up with a build that looks like a placeholder. I’ve spent too many hours staring at my own builds, realizing that the difference between a “base” and a “home” is usually found in the seamless roof integration. If your roofline just abruptly hits a wall without a proper overhang or a slight change in block depth, the whole structure loses its weight. It looks floaty. It looks fake.
You also have to stop ignoring the smaller details that create curb appeal through building details. I’m talking about the stuff that most players skip because it takes too long to place individual stairs or slabs. If you want that premium look, you need to focus on architectural trim and molding using things like stone brick stairs or even trapdoors to break up the flat surfaces. It’s not about adding more blocks; it’s about adding depth where the eye expects a transition. If the edges of your building are perfectly flat, you’ve already lost the battle.
The Five Details I Actually Use to Stop a Build from Looking Like a Shell
- Depth is non-negotiable. If your walls are just a flat plane of cobblestone or planks, the build is dead on arrival. I always pull my frame blocks one block out from the wall surface to create actual shadows; without shadow depth, you aren’t building a house, you’re building a billboard.
- Stop using single-block borders. A common mistake I see in most tutorials is using a single line of stairs or slabs to “trim” a wall. It looks cheap. I prefer using a mix of stairs and full blocks to create a tiered effect that actually catches the light properly.
- Lighting needs to be functional, not just decorative. I don’t just spam torches on the floor like a beginner. I integrate light sources into the actual geometry—hidden under trapdoors or tucked into ceiling recesses—so the house feels lived-in rather than just being a lit-up box.
- The “Rule of Three” for block palettes. If you use more than three primary textures in a single wall section, it looks like a mess. I stick to a base, an accent, and a trim. Anything more than that and you’re just creating visual noise that makes the build feel unfinished and chaotic.
- Vegetation isn’t an afterthought. A house sitting on a perfectly flat grass plane looks like it was dropped there by a developer. I always spend time breaking up the perimeter with leaf blocks, coarse dirt, and custom stone paths to make it look like the structure actually belongs in the terrain.
The Checklist for a Finished Build
Stop using single-block walls; if you aren’t mixing at least three different textures to break up the flat surfaces, the build will always look like a placeholder.
Detail isn’t just about adding more blocks, it’s about depth—if your walls are perfectly flush with your window frames, you haven’t actually finished the structure.
Lighting is the final test; if I can walk through a room and find a single dark corner that isn’t intentional, the build isn’t ready for a showcase.
The Bottom Line
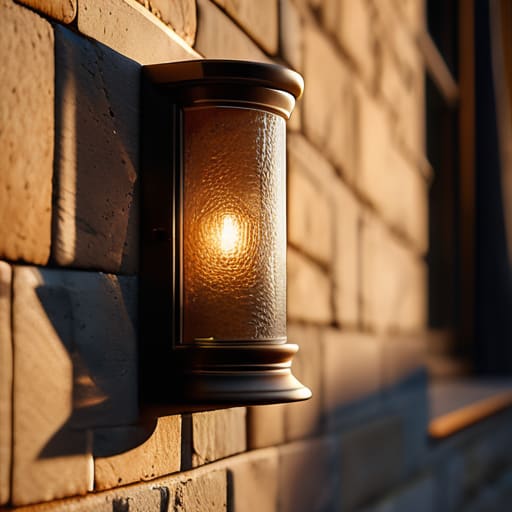
At the end of the day, finishing a build isn’t about adding more blocks; it’s about managing the details you’ve already placed. I’ve spent too many hours staring at a wall of plain cobblestone only to realize the issue wasn’t the material, but the lack of a proper transition to the stone brick foundation. If you focus on mastering those material transitions and actually committing to the high-end finishing touches—the lighting, the depth, and the subtle texturing—you stop building “structures” and start building homes. Stop treating your builds like a checklist of blocks to be placed and start treating them like a cohesive environment that needs to feel intentional.
Don’t get discouraged if your first few attempts look like a half-finished survival base. I still run into this myself when I’m testing new builds on a fresh seed. The difference between a player who just survives and a builder who creates something lasting is the willingness to sit there and fix the small, annoying things that most people ignore. Perfection isn’t the goal, but intentionality is mandatory. If you take the time to go back and refine the edges, you’ll find that the most rewarding part of the process isn’t the moment you place the final block, but the moment you step back and realize the build finally looks complete.
Frequently Asked Questions
How do I stop my build from looking like a giant, flat box once I actually start adding the detail?
Stop thinking in 2D. The biggest mistake I see is people trying to “decorate” a flat wall with buttons or trapdoors. That’s just clutter. You need depth. I always start by pulling the frame one block out from the walls. If your windows are flush with the surface, it’s going to look like a cardboard box. Use stairs and slabs to create recesses. If there isn’t a shadow being cast, the detail doesn’t exist.
When does adding more blocks to a wall cross the line from "detail" to just making the build look cluttered and messy?
It’s a fine line. I’ve seen builds where people just spam stairs and slabs on every single face of a wall, and it looks like a mess. If you can’t tell what the original shape of the wall was because there’s too much noise, you’ve gone too far. Detail should highlight the structure, not hide it. If a block doesn’t serve a specific purpose—like adding depth or breaking up a flat plane—get rid of it.
Is there a specific way to use lighting that doesn't involve just spamming torches everywhere and ruining the vibe?
Stop treating torches like a security measure and start treating them like a design tool. If I see one more flat, torch-lit box, I’m done. I use light sources to guide the eye, not just to stop mob spawns. Hide your lighting under carpets, behind trapdoors, or inside leaf blocks. I’ve tested this across multiple builds: if the light source is visible, it’s usually a mistake. Use the glow to highlight textures, not to wash them out.
