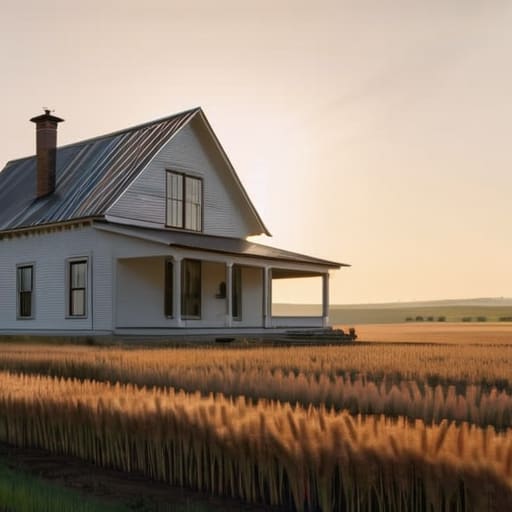
Most people think that learning how to build a farmhouse is all about finding some aesthetic Pinterest build and copying it block for block, but that’s a recipe for a layout that actually sucks to live in. I’ve spent way too many hours on my current survival world trying to force “pretty” designs into functional spaces, only to realize I can’t even access my crops without running through three different hallways. I learned the hard way that if your farm isn’t integrated into the actual floor plan, you’re just building a glorified museum, not a working homestead.
I’m not here to give you some fluff tutorial filled with cinematic shaders and useless decoration tips. I’ve tested every single layout I’m about to show you on the current version to ensure they are actually functional for long-term survival. This guide is going to show you how to prioritize pathfinding and storage access so you don’t waste your time running back and forth across the map. We’re focusing on practical architecture that works, period.
Table of Contents
Guide Overview
Tools & Supplies
- Excavator for site preparation and trenching
- Circular saw for framing and cutting lumber
- Nail gun for efficient structural assembly
- Level for ensuring foundation and wall accuracy
- Concrete for foundation and footings
- Lumber for framing and structural support
- Roofing shingles or metal panels for weatherproofing
- Drywall for interior wall finishing
Step-by-Step Instructions
- 1. Stop looking at those Pinterest builds for a second and just clear a flat 20×20 area. I’ve wasted too many hours trying to level terrain around a build only to realize the foundation doesn’t actually fit the slope. Use a shovel or just TNT if you’re in creative, but get a clean slate before you place a single block.
- 2. Lay down your perimeter using stripped logs or dark oak. I prefer using a 3×3 corner pillar setup rather than a flat wall because it adds depth that doesn’t require any fancy texture packs to look decent. If your foundation is just a single layer of blocks, the whole thing is going to look like a cardboard box once you start adding the roof.
- 3. Frame out the walls with something that contrasts the foundation. I usually go with white wool or diorite—don’t argue with me on the diorite, it’s clean and works—and keep the window gaps small. If you make the windows too large too early, you’ll realize you have no structural integrity left to support the weight of the roof.
- 4. Build the roof skeleton using stairs and slabs. This is where most people mess up by making the pitch too steep or too shallow for the scale of the house. I always build a center ridge beam first, then work my way down to the eaves to ensure the symmetry is actually perfect.
- 5. Add the flooring. Don’t just use plain planks; it looks lazy. I typically mix in some coarse dirt or gravel near the entrance to simulate a high-traffic area. It makes the build feel like it actually exists in the world rather than just being a floating geometry project.
- 6. Install the lighting. Forget torches on the floor; they’re ugly and they break the immersion. I hide my light sources under carpets or behind trapdoors. If you’re building a functional farmhouse, you need the light level to be high enough to prevent mob spawns, but not so bright that it looks like a stadium.
- 7. Finalize the exterior with some “lived-in” clutter. Add a few composters, some hay bales, and maybe a water trough. I’ve found that adding these small, functional blocks is the only way to stop a farmhouse from looking like a sterile museum piece.
The Real Math Behind Brutal Farmhouse Construction Costs
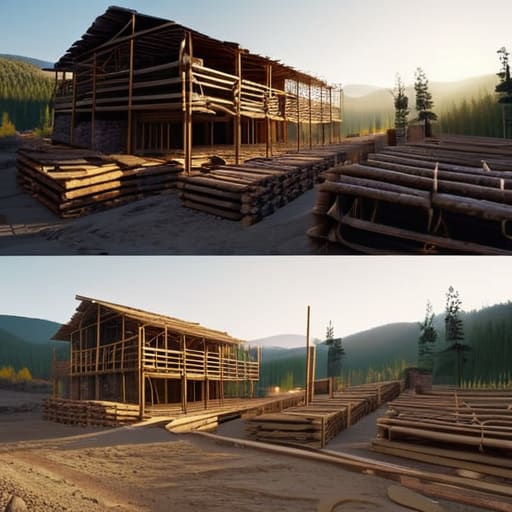
Most guides treat resource gathering like it’s just a checkbox, but they don’t account for the actual logistics of scaling up. When I was setting up my last build, I realized that looking at farmhouse construction costs purely in terms of raw materials is a mistake. You have to factor in the travel time and the sheer volume of inventory management required to move thousands of units of wood and stone. If you aren’t calculating your “cost per block” based on the time it takes to clear a forest versus mining a mountain, your efficiency is going to tank halfway through the foundation.
I’ve seen people try to copy complex modern farmhouse floor plans they found online, only to realize they’ve completely miscalculated the structural depth needed for the aesthetic. They end up with a hollow shell that looks okay from a distance but lacks any real substance. I always suggest over-budgeting your resource count by at least 15%. It’s better to have a surplus of cobblestone sitting in a chest than to realize you’re three stacks short of a finished roof when you’re already deep into the build.
Navigating the Legal Maze of Building on Agricultural Land

Most people jump straight into picking out modern farmhouse floor plans without realizing they might be building on a landmine of red tape. When you’re dealing with rural property development, the rules aren’t just suggestions; they are rigid constraints that can kill a project before the first shovel hits the dirt. I’ve seen people waste months designing layouts only to find out their specific plot is zoned strictly for production, meaning any residential structure is a non-starter. You need to verify the zoning classification before you commit a single cent to architectural drawings.
The reality of building on agricultural land is that local authorities often view your farmhouse as an obstacle to farming rather than a home. You’ll likely run into strict setbacks and “right-to-farm” laws that dictate how close to a neighbor’s fence or a public road you can actually exist. Don’t assume that because a patch of dirt looks empty, it’s fair game for a foundation. I always recommend checking the local easement maps first; there is nothing more expensive than realizing your dream porch sits directly on top of a utility access corridor.
5 Things I Learned While Actually Building This
- Stop over-planning the layout before you clear the land. I wasted three days sketching a floor plan on paper that didn’t account for the actual slope of my site, and I ended up having to redo the entire foundation. Just get some stakes in the ground and see how the terrain actually dictates the build.
- Don’t skimp on the drainage. I’ve seen enough DIY farmhouses turn into mud pits because people thought a little gravel would suffice. If you aren’t calculating the runoff from your roofline, you’re basically just building a very expensive swimming pool for your basement.
- Source your materials locally or prepare to pay a premium for logistics. When I was framing my last project, I realized that shipping heavy timber from three states away cost more than the wood itself. If there’s a mill within fifty miles, use them.
- Build for utility, not just aesthetics. It’s easy to get caught up in making a “rustic” look, but if your mudroom is too small to actually clean boots in, or your kitchen layout makes cooking a chore, the farmhouse has failed its primary purpose.
- Plan your expansion early. I didn’t think about how I’d add a workshop later, so I ended up tearing into a structural wall just to get more space. If you think you might need a bigger garage or an extra bedroom in five years, bake that footprint into your initial foundation work.
The Bottom Line
Stop guessing your material counts; if you don’t run the math before you start digging, you’re going to end up with a half-finished shell and a depleted inventory.
Legal permits aren’t optional just because you’re building on rural land, so clear the paperwork before you commit to a foundation.
Focus on structural integrity over aesthetics; a farmhouse that looks good but lacks a solid frame is just a waste of resources.
Final Thoughts Before You Break Ground
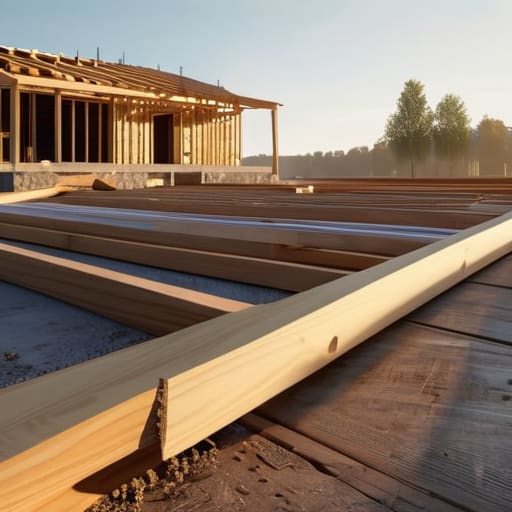
Building a farmhouse isn’t some aesthetic project you can just wing with a few Pinterest boards and some luck. I’ve spent enough time staring at structural failures and budget overruns to know that if you don’t nail the framing and respect the zoning laws, you’re just building a very expensive pile of scrap. You need to account for the actual math of your materials and ensure your footprint is legally sound before you even think about ordering a single beam. If you follow the steps I laid out, you’ll avoid the rookie mistakes that turn a dream build into a logistical nightmare. Stick to the plan, verify your measurements twice, and don’t cut corners on the foundation just to save a few bucks early on.
At the end of the day, a farmhouse is more than just a structure; it’s the anchor for everything else you’re trying to achieve on your land. It takes a massive amount of grit to push through the tedious stages of construction, but there is nothing quite like the feeling of standing in a space that you actually built with your own hands. It won’t be perfect on day one, and it certainly won’t look like a render, but it will be yours. Stop reading the guides and start digging.
Frequently Asked Questions
How do I handle foundation settling if the soil composition is inconsistent?
If your soil is inconsistent, don’t just pour a standard slab and pray. I’ve seen enough cracked foundations to know that guesswork is how you waste money. You need to dig deeper to find stable strata or use reinforced concrete piers to bridge those soft pockets. I always test the load-bearing capacity myself before I commit to a footprint. If the soil shifts, your house shifts. Don’t skip the subgrade prep just to save a few bucks.
What's the best way to integrate modern HVAC without ruining the structural integrity of the timber frame?
Don’t go cutting into your primary load-bearing beams for ductwork. I’ve seen people butcher a perfectly good timber frame just to hide a vent, and it’s a nightmare to fix. The only way to do this right is to run your lines through the floor cavities or use high-velocity mini-ducts that can snake through smaller gaps. If you can’t fit it without compromising a joint, you’re better off using a multi-zone mini-split system instead.
Are there specific local zoning laws that prevent me from expanding the footprint later?
Yeah, they absolutely do. Most people think they can just slap on a new wing or an extra silo later, but zoning boards usually look at your initial footprint for “setback” requirements. If you build right up to the edge of your allowed area now, you’re boxed in. I’ve seen guys lose entire expansions because they didn’t account for the buffer zones required between structures. Check your local ordinances before you pour any concrete.
