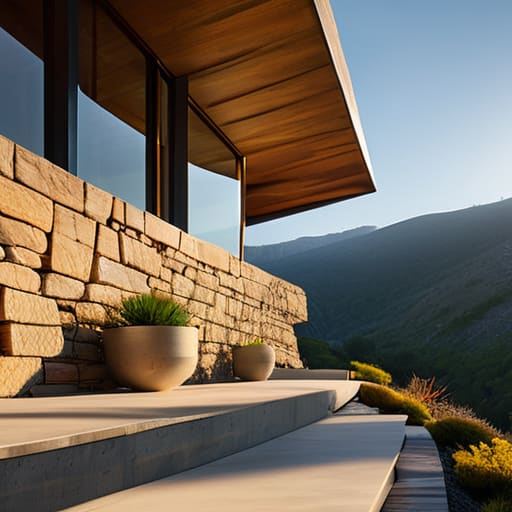
I was halfway through a massive stone brick foundation on a jagged peak last night when I realized I’d completely ignored the natural slope, leaving my build looking like a floating, unnatural error. Most people think the secret to mountain construction is just stacking blocks higher, but that’s a lie; if you don’t learn how to build on a mountain by integrating with the existing terrain, your base will always look like a cheap placeholder. I spent hours terraforming a single cliffside just to get the sightlines right, and I’m not about to let you waste your time doing the same thing without a plan.
I’m not here to give you some aesthetic “inspiration” or show you builds from three versions ago that don’t even work anymore. I’ve tested these methods on the current build, and I’m going to show you exactly how to work with the geometry rather than fighting it. You’re going to get the specific, technical steps for managing verticality, securing your foundations, and making sure your builds actually look like they belong in the landscape. No fluff, just the tested mechanics you need to stop building ugly boxes on hillsides.
Table of Contents
Guide Overview
Tools & Supplies
- Excavator for terrain grading and foundation digging
- Surveying equipment for slope and boundary accuracy
- Concrete mixer for on-site foundation pouring
- Concrete and rebar for reinforced footings
- Geotextile fabric for soil stabilization
- Timber or steel for structural framing
Step-by-Step Instructions
- 1. Stop looking at the peak and start looking at the base of the slope. Most people make the mistake of trying to flatten a massive plateau at the summit, which just leaves you with a giant, unnatural-looking square sitting on a mountain. I usually find a natural ledge or a slightly recessed alcove about halfway up. It’s much easier to integrate a build into a pre-existing overhang than it is to fight the terrain height at the very top.
- 2. Clear out the excess stone, but don’t go overboard. I use a pickaxe to carve out a “footprint” that follows the natural curve of the mountain rather than forcing a perfect rectangle. If you strip away too much, you’ll end up with a vertical cliff face that makes your house look like it’s glued onto a wall instead of growing out of it. Keep some of the natural stone exposed to act as your foundation.
- 3. Build your support pillars first. Since you’re working on a tilt, you can’t just place blocks on the ground and call it a day. I use stripped logs or deepslate walls to create structural supports that look like they are actually holding the weight of the building. These pillars should extend from your carved-out floor down into the mountain itself. If the supports look flimsy, the whole build will feel like it’s about to slide down the side of the biome.
- 4. Lay down your flooring using a mix of materials. A single material like oak planks looks boring and artificial on a mountain. I always mix in some cobblestone or andesite around the edges where the floor meets the mountain wall. This creates a transition zone that makes the interior feel like it was carved directly from the rock rather than just placed on top of it.
- 5. Frame the exterior walls using a “sunken” method. Instead of building the walls outward into the air, try to keep them slightly recessed into the mountain. This gives the build depth and creates natural shadows. I’ve found that if you use trapdoors or fences as window shutters, it helps break up the flat surface of the wall and makes the structure feel much more integrated with the surrounding cliffs.
- 6. Handle the roof with a heavy overhang. On a mountain, the weather (or at least the aesthetic of it) should feel impactful. I don’t do thin, flat roofs. I use a combination of stairs and slabs to create a thick, heavy roofline that hangs slightly over the edge of the build. This protects the “foundation” visually and helps the house look like it can actually withstand the wind and snow at that altitude.
- 7. Finalize the perimeter with lighting and paths. Don’t just spam torches on the ground; it looks messy and ruins the vibe. I use lanterns hanging from chains or hidden light sources tucked into the alcoves I carved out in step two. For the approach, don’t build a straight staircase. Make the path wind around the mountain in a jagged, natural way so it feels like a real trail rather than a staircase built by a machine.
Why I Never Trust a Slope Stability Analysis I Didnt Verify

I’ve seen too many players follow a generic tutorial, slap down a wooden platform, and then watch their entire base slide into a ravine during the first heavy rainstorm. Most guides assume the ground is static, but it isn’t. When I was setting up my last base on a jagged peak, I realized that a theoretical slope stability analysis from a wiki means nothing if you haven’t actually tested the block collision and gravity physics of the specific biome you’re in. If the terrain feels loose or the sub-surface layers look inconsistent, don’t just build over it; you need to anchor it.
I personally refuse to trust any foundation that isn’t physically tied into the bedrock. For me, effective retaining wall design for hillsides isn’t about aesthetics—it’s about preventing your entire build from becoming a pile of dropped items. I spent hours manually replacing gravel patches with solid stone just to ensure my structures wouldn’t shift. If you’re building on steep inclines, you have to verify the structural integrity yourself through trial and error. If a single block falls, your whole plan is flawed.
The Retaining Wall Design for Hillsides That Actually Held
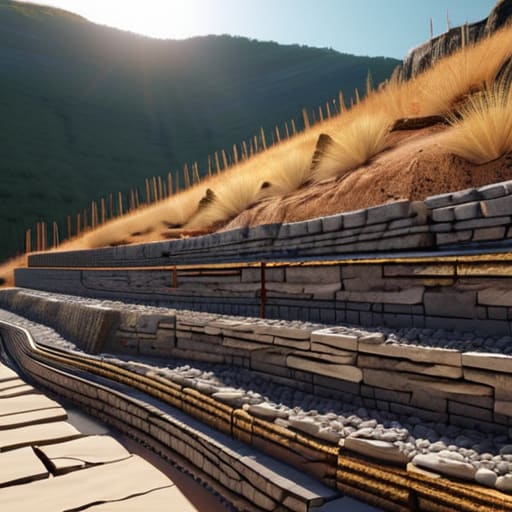
Most people think they can just stack stone blocks and call it a day, but I learned quickly that gravity doesn’t care about your aesthetics. When I was working on my latest build, I realized that a standard wall is useless if you don’t account for the lateral pressure of the dirt behind it. My approach to retaining wall design for hillsides relies on a stepped foundation rather than one massive, continuous slab. By breaking the wall into smaller, interconnected segments, you allow the structure to settle slightly without the whole thing cracking or bowing outward under the weight of the mountain.
I also found that drainage is the most overlooked part of the entire process. If water gets trapped between your wall and the hillside, you aren’t building a foundation; you’re building a dam that is eventually going to fail. I always leave a small gap or use gravel backfill to ensure water can escape. If you aren’t actively managing erosion control methods within the wall’s structure, the next heavy rainstorm will turn your hard work into a landslide. It’s tedious, but it’s the only way to ensure the build stays put.
Five things I stopped doing after my first mountain build failed
- Stop trying to flatten the entire peak. I wasted hours once trying to level a massive plateau, only to realize I’d ruined the natural silhouette and made the whole thing look like a generic starter base. Work with the terrain, not against it.
- Forget about symmetry. If you try to mirror a building on a slope, it’s going to look broken the second the elevation shifts. I’ve learned to embrace asymmetrical floor plans; they’re the only way to make a structure actually look like it belongs on a cliffside.
- Don’t skip the drainage check. Even in a game, if you’re building near runoff points or steep ravines, you need to account for how water (or just the visual flow of the terrain) interacts with your foundation. I’ve seen too many builds look “floating” because the transition to the ground was lazy.
- Stop using massive, heavy-looking blocks for your upper levels. When I first started, I used heavy stone masonry for everything, and it looked top-heavy and unstable. I switched to lighter materials for the higher elevations to give the build a sense of actual structural logic.
- Test your sightlines before you commit to a layout. I once spent a whole session building a massive hall only to realize from the second floor that I couldn’t see the valley I’d spent all that time decorating. Always stand where you plan to spend your time before you place the first block.
The Bottom Line
Stop trying to flatten the mountain; you’ll spend more time fighting the terrain than actually building, so design your foundation to follow the natural slope instead.
If you skip the retaining wall phase to save time, you aren’t saving resources—you’re just scheduling a landslide for later.
Always test your drainage paths manually before you lay the first block, because once the heavy rain hits, a bad layout will turn your build site into a mud pit.
The Final Build
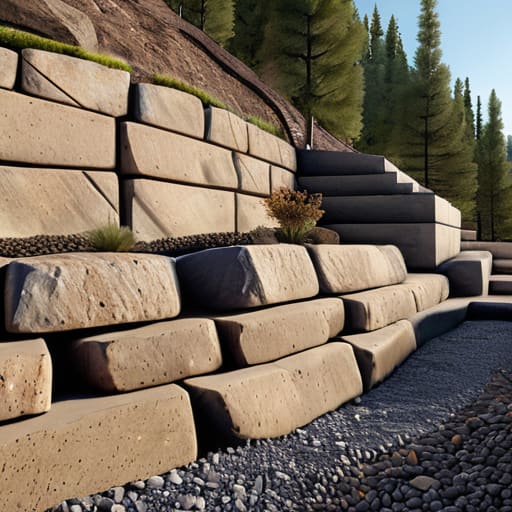
At the end of the day, building on a mountain isn’t about aesthetics; it’s about managing the physics of the terrain. I’ve seen too many players try to flatten a whole peak only to realize they’ve created a massive, unstable ledge that collapses the moment they add a heavy structure. You need to prioritize your retaining wall integrity and ensure your foundation isn’t just sitting on loose gravel. If you skip the manual verification of your slope stability and rely on some outdated guide or a lucky guess, you’re going to spend more time fixing landslides than actually enjoying the view. Stick to the tested methods I’ve laid out here, and your build will actually stay put.
It’s easy to look at a massive mountain range and feel like the terrain is working against you, but that’s exactly what makes the finished product worth it. There is a specific kind of satisfaction that comes from looking at a complex, multi-level structure that integrates perfectly with the natural elevation instead of fighting it. Don’t aim for the easy, flat plains where anyone can drop a house without thinking. Aim for the heights, do the proper groundwork, and build something that looks like it was meant to be there. If you do it right, your build won’t just be a house; it’ll be a permanent part of the landscape.
Frequently Asked Questions
How do I stop the foundation from sliding if the terrain is mostly gravel or loose dirt?
If you’re dealing with loose dirt or gravel, stop trying to build “on” the slope and start building “into” it. I’ve seen too many builds slide down a hill because they relied on surface friction. You need to dig down until you hit something solid—bedrock or compacted stone. If you can’t reach that, you’re essentially building on a pile of marbles. Use deep-set pier foundations or screw piles to anchor the structure into the stable layers below.
What’s the best way to handle drainage so the mountain doesn't wash my build away during a heavy storm?
If you don’t control the water, the mountain will eventually claim your build. I’ve seen too many hillside projects turn into mudslides because someone ignored the runoff. You need to dig deep diversion trenches upslope from your foundation to catch the flow and redirect it around your structure. Don’t just rely on surface grading; I always build a gravel-filled French drain behind my retaining walls to prevent hydrostatic pressure from blowing them out.
Is it worth trying to level the ground, or should I just build on stilts to avoid the massive excavation work?
I’ve tried both, and honestly, leveling the ground is a trap. You’ll spend hours moving dirt just to end up with a flat platform that looks unnatural and breaks the terrain flow. I usually go with stilts. It’s faster, preserves the mountain’s shape, and saves you from the headache of massive excavation. Unless you need a massive, flat floor for a specific farm, don’t bother fighting the slope. Just build up.
