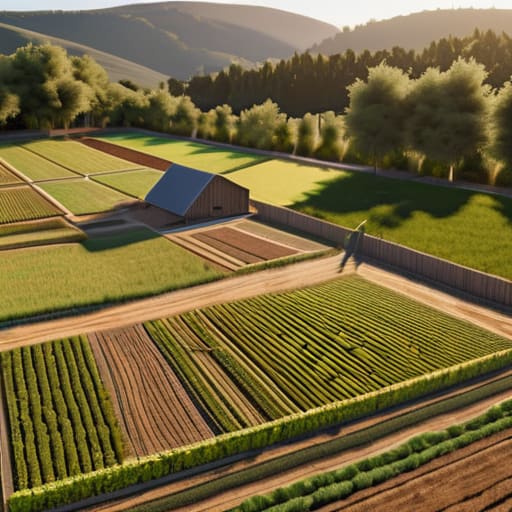
Stop watching those cinematic “aesthetic farm” tutorials that use resource packs to make everything look like a cottagecore dream. They look great in a thumbnail, but the second you try to actually implement their designs, you realize they’ve completely ignored basic pathfinding and item collection. Most of these creators have no idea how to build a working farm layout that doesn’t require you to manually click every single crop or spend three hours rerouting water channels because they forgot how redstone updates work in the current version. I’ve spent enough hours on my own survival worlds to know that if a layout isn’t logistically sound, it’s just a glorified decoration that wastes your time.
I’m not going to give you a list of “pro tips” I found on a wiki. Instead, I’m going to show you the exact blueprint I used for my most recent setup—the one that actually scales without breaking my server’s tick rate. I’ve tested every single block placement and hopper line myself, so you won’t find any outdated junk here. This is a direct look at how I organized my crops and livestock to stop constant re-work and keep my inventory from becoming a mess.
Table of Contents
Efficient Farm Infrastructure Planning From My Own Soil
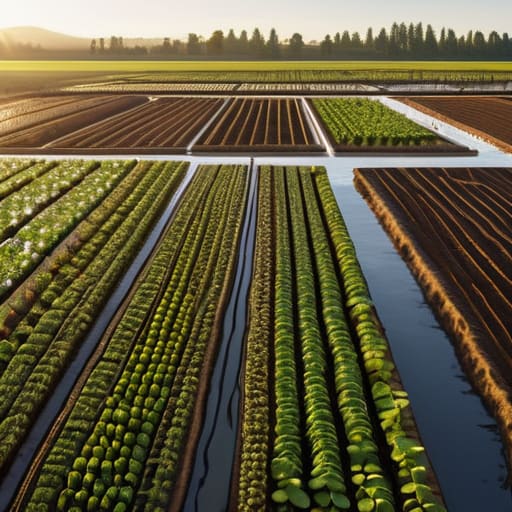
I don’t care how many “pro” tutorials suggest building massive, sprawling fields; if you don’t account for water management and drainage systems from the start, you’re basically just building a future swamp. In my last setup, I wasted three days trying to fix hydration issues because I thought I could just wing the irrigation paths. Now, I treat every block of tilled soil like a server node—everything has a specific path to the source. I map out my hydration lines first, ensuring every single crop is within reach of a water source block without needing to clutter the field with unnecessary extra channels.
When it comes to the actual footprint, I’ve found that crop rotation field design is the only way to keep things from becoming a disorganized mess of different growth stages. I group my crops by their harvest cycles so I’m not constantly running back and forth across the same patch of dirt. If you aren’t planning your walking paths to minimize travel time between the silos and the fields, you’re just wasting time that could be spent on other tasks. I keep my paths exactly two blocks wide—enough for me to move through without getting snagged, but tight enough to maximize every inch of usable land.
Solving Water Management and Drainage Systems Through Trial and Error
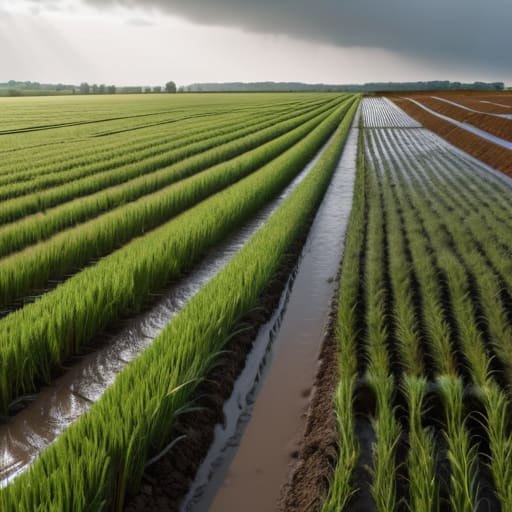
I spent three days straight watching my wheat fields turn into mud pits because I thought I could just flood a flat area and call it a day. I was wrong. In my current setup, I realized that water management and drainage systems aren’t just about getting moisture to the roots; it’s about controlling where that water stops. I stopped using massive, open pools and switched to a tiered trench system. By digging shallow, single-block channels between my crop rows, I can direct excess flow away from the center of the plots. This prevents the “swamp effect” that usually kills off my crops during heavy rain cycles.
Another mistake I made early on was ignoring the slope of the terrain. I tried to force a perfectly level grid onto a hillside, and it was a nightmare to keep the hydration levels consistent. Now, I build in stair-step increments. This approach makes my efficient farm infrastructure planning much more predictable because the water follows gravity exactly where I want it to go. It’s a bit more tedious to terraform initially, but it saves me from having to manually replant half my field every time the water levels shift.
Five Things I Stopped Doing After Wasting Hours on Bad Layouts
- Stop placing your storage chests at the very edge of the farm; I wasted three days building a massive potato field only to realize I had to walk a full minute every time I needed to restock seeds. Keep your central chest hub within ten blocks of your main irrigation line.
- Don’t forget to account for pathing clearance. I used to cram my crop rows so tight that I couldn’t even sprint through my own farm without hitting a fence or a hopper, which completely killed my efficiency during harvest cycles.
- Always build your lighting into the floor or the surrounding walls rather than placing torches on top of crops. I’ve lost entire sectors of wheat because I forgot a corner was dark, and it’s a massive headache to fix once the layout is set.
- Group your crops by their growth speed and water requirements. I learned that mixing fast-growing crops with slow ones in a single irrigation block is a recipe for wasted space, because you end up waiting on the slow ones while the fast ones sit idle.
- Leave room for a dedicated compost/fertilizer station right next to your main rows. If I have to trek back to my main base just to grab bone meal, the entire “efficient” layout I spent hours planning becomes useless.
What I Learned From My Own Failed Layouts
Don’t skimp on pathing; if your main arteries aren’t wide enough to move between crop rows without jumping, you’ll spend more time fighting your movement than actually harvesting.
Stop trying to automate everything at once—I wasted three days on a complex redstone hopper system that broke the moment I expanded my wheat field, so stick to manual-friendly layouts until you actually have the resources to scale.
Water sources are the biggest headache if you don’t centralize them; I learned that grouping hydration blocks in the middle of specific grids is the only way to prevent dry spots that ruin an entire sector’s yield.
Final Thoughts on the Layout
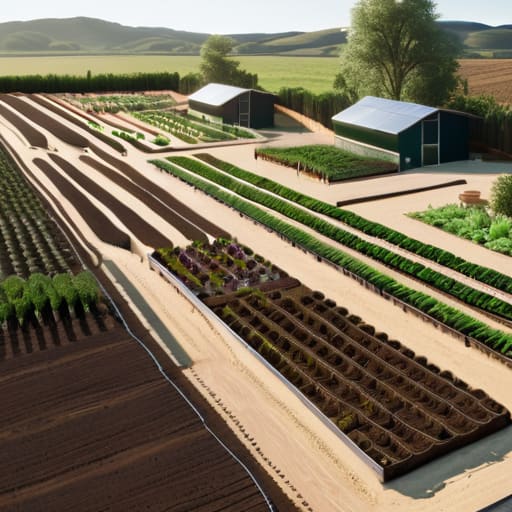
At the end of the day, a working farm isn’t about having the biggest field; it’s about how little time you spend fixing mistakes. I spent my first few months on this version constantly running back and forth because I ignored my irrigation lines or placed my storage too far from the harvest zone. By sticking to a modular layout and prioritizing drainage before aesthetics, you avoid the inevitable mid-season rebuild. If you plan your infrastructure around your actual movement patterns rather than just what looks good in a screenshot, you’ll find that efficiency becomes second nature instead of a constant chore.
Don’t get discouraged if your first attempt feels clunky or if you have to tear up a patch of dirt to fix a water issue. I’ve broken more irrigation channels than I can count just trying to get the flow right. The goal isn’t to build a perfect, static monument; it’s to build a system that actually works for the way you play. Once you have the foundational logic down, the rest is just expansion. Stop looking at those outdated guides and just start digging, because you won’t actually understand your land until you’ve lived with its mistakes.
Frequently Asked Questions
How do I stop my crop layouts from breaking when I try to expand the perimeter later?
The mistake most people make is building right up to the edge of their irrigation lines. If you want to expand without tearing everything up, you have to build in modular blocks. I leave a two-block buffer of non-farmable space—just plain dirt or stone—between my current perimeter and the next planned section. It feels like wasted space initially, but it stops a single misplaced water trench from nuking your entire existing harvest when you start digging.
What's the best way to organize my storage so I'm not running back and forth between the fields and the chests every five minutes?
Stop trying to build one massive, centralized warehouse. I wasted three days on my current setup trying to make a “mega-chest” room, and it was a nightmare. Instead, I built small, modular satellite stations right at the edge of my crop zones. Use a simple chest-and-barrel setup for the specific items you’re harvesting in that exact area. If you have to walk more than twenty blocks to dump a stack, your layout is broken.
How much space should I actually leave between my irrigation lines to prevent accidental block updates from breaking the system?
I stopped trying to squeeze every single block of utility out of my plots once I realized how much time I was wasting fixing broken channels. I leave a two-block buffer between my irrigation lines. One block for the line itself, and one block of “dead” space. It’s not the most space-efficient way to build, but it prevents a single misplaced torch or a stray block update from cascading through the whole system and drying out my crops.
