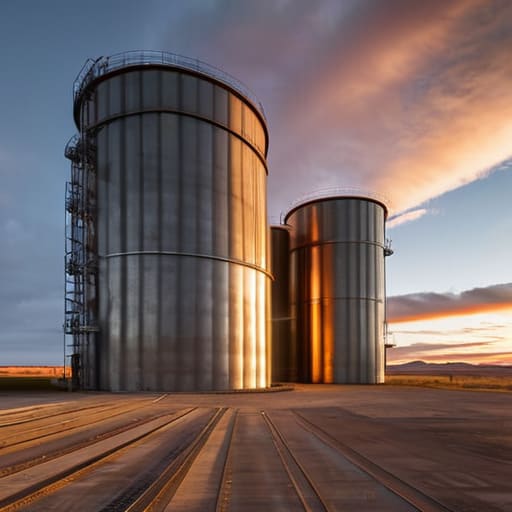
Most people think you need a massive library of complex mods or some over-engineered redstone circuit to figure out how to build a storage silo that actually looks decent. They’ll point you to some cinematic YouTube tutorial where everything looks perfect, but the moment you try to replicate it in your own world, the scale is completely off and it looks like a giant, ugly pillar of cobblestone. I spent three hours yesterday trying to fix a design that looked great in a screenshot but was a total disaster once I actually placed the blocks in my survival world.
I’m not here to give you a lecture on “aesthetic theory” or show you something I haven’t personally tested on the current version. I’ve spent the last few days breaking and rebuilding this specific design until the proportions actually make sense. This guide is strictly about the practical steps of how to build a storage silo that fits your terrain without looking like a glitch. I’ll show you exactly which blocks I used, how to manage the internal space, and how to avoid the common scaling mistakes that turn a functional build into an eyesore.
Table of Contents
Guide Overview
Tools & Supplies
- Circular saw for cutting timber and panels
- Power drill for securing fasteners
- Level to ensure vertical stability
- Measuring tape for precision alignment
- Pressure-treated lumber for the base frame
- Corrugated metal sheets for the walls
- Plywood or heavy timber for the roof structure
- Galvanized screws and fasteners
- Concrete mix for the foundation footings
Step-by-Step Instructions
- 1. First, you need to clear a flat area of at least 15×15 blocks. I’ve seen people try to build these on a slope, and it’s a nightmare for the foundation. Use cobblestone or stone bricks to lay down a solid circular base about 11 blocks in diameter. Don’t just eyeball it; use a compass or a circle generator if you have to, because if your footprint is lopsided, the whole structure is going to look like garbage once you start going up.
- 2. Now, build your main walls. I prefer using deepslate bricks or stripped dark oak logs for the frame to give it some actual depth. You want to stack these in a ring, following that circular footprint you just laid down. I usually go up about 12 blocks before I even think about adding a roof or a second tier. Keep the walls thick and sturdy; thin walls make a silo look like a cheap prop rather than something that actually holds weight.
- 3. You can’t have a silo without a way to get inside, so integrate a small entrance. Don’t just hack a hole in the side. I build a small, recessed doorway using stairs or slabs to create some architectural interest. Place a heavy wooden door here, and if you’re feeling fancy, add some trapdoors on the sides to act as shutters. It makes the build feel much more grounded in the world.
- 4. This is where most people mess up: the internal access. Since I’m building this to actually be functional for my survival world, I don’t use ladders. They’re clunky and easy to fall off of. Instead, I build a spiral staircase using slabs in the center of the circle. It takes more materials, but it’s the only way to make the transition between the ground floor and the upper storage levels feel seamless.
- 5. Once you’ve got your height, it’s time to cap it off. A silo shouldn’t have a flat roof; that looks unfinished. I use a conical shape by layering stairs and slabs in concentric circles as you move upward. I personally use a mix of stone brick stairs and dark oak slabs to get that weathered, industrial look. Make sure the tip of the cone is a single block to keep the silhouette clean.
- 6. Finally, you need to actually make it a “storage” silo. I don’t just leave the inside as an empty shell. I line the interior walls with chests or barrels, but I leave a small gap between the chests and the wall to allow for lighting and ventilation. I usually tuck some glowstone or lanterns behind some trapdoors so the interior is bright without having torches sticking out of every single block. It’s a small detail, but it’s the difference between a build and a functional base component.
Silo Foundation Requirements What My Concrete Mistakes Taught Me
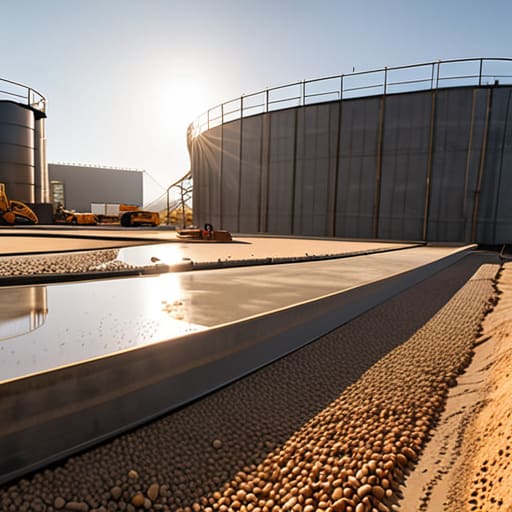
I learned the hard way that you can’t just slap a heavy structure on top of loose soil and expect it to stay upright. On my last build, I ignored the basic silo foundation requirements because I thought the ground looked “good enough.” Two weeks later, the whole thing started leaning because the weight distribution was off. If you want to maintain silo structural integrity, you have to treat the base as the most important part of the entire build. Don’t just dig a hole; you need a compacted, level surface that can actually handle the downward pressure of the contents.
Another mistake I made—and this one was a headache to fix—was neglecting the transition between the floor and the walls. If your base isn’t perfectly centered, the internal pressure from the stored material will eventually force the walls outward. I spent way too much time recalculating my bulk material storage design because I hadn’t accounted for how the weight settles. Basically, if your foundation isn’t rock solid, everything above it is just waiting to fail.
Mastering Silo Hopper Angle Calculation for Real World Flow

If you get the angle wrong, you aren’t building a silo; you’re building a very expensive, very tall tomb for your grain. I spent three days troubleshooting a build last month because I underestimated the friction coefficient of the material I was using. Most people think a standard 45-degree slope is a safe bet for everything, but that’s how you end up with “bridging”—where the grain just sits there in a frozen arch, refusing to move toward the outlet. You need to perform a proper silo hopper angle calculation based specifically on the moisture content and density of what you’re storing.
I’ve learned the hard way that if your angle is too shallow, the material will cling to the walls, ruining your entire bulk material storage design. You want a steep enough incline that gravity actually wins the fight against friction. If you’re working with something heavy or damp, you’ll likely need to push that angle closer to 60 degrees. Don’t just eyeball it and hope for the best; math is much faster than rebuilding a collapsed hopper.
Five Things I’d Do Differently Next Time
- Don’t trust your initial grain math; I always over-calculate my volume by about 10% because a “perfect” fit in a spreadsheet usually ends up being a mess in the actual bin.
- Stop trying to save money on the discharge gates; if you cheap out on the mechanical components now, you’ll spend triple that amount in labor costs when they inevitably jam.
- Keep your moisture readings constant during the build process, because even a slight change in humidity can mess with how the grain settles in the cone.
- Forget about using fancy automated sensors for the first run; just build in a manual inspection hatch so you can actually see if the bottom is bridging before it’s too late.
- Always leave a bit of extra headroom at the top of the silo, because if you pack it to the absolute brim, you’re going to have a nightmare trying to level it off.
The Bottom Line
Don’t skip the foundation check; if your ground isn’t solid, your silo is just a very expensive, tilting pile of concrete.
Get the hopper angle right the first time, or you’ll spend your whole life fighting grain jams and manual clearing.
Stick to the math on flow rates instead of guessing, because “close enough” usually ends in a complete system failure.
Final Thoughts Before You Start Digging
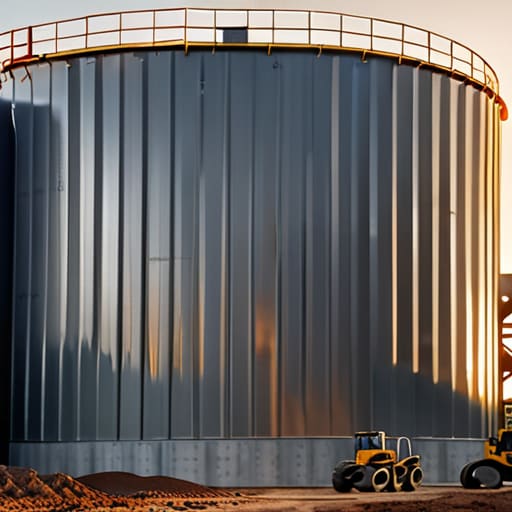
At the end of the day, building a silo isn’t just about stacking walls; it’s about managing the physics of what’s inside. If you ignored the foundation requirements or botched the hopper angle calculations I laid out, you aren’t building a storage solution—you’re building a future headache. You have to respect the structural integrity of the base and the specific slope needed for a consistent flow. I’ve spent enough hours fixing tilted walls and cleared-out hoppers to know that cutting corners during the initial build just leads to a complete system failure later on. Stick to the math, verify your ground stability, and don’t assume it’ll work just because it looks right.
It’s easy to get frustrated when the concrete doesn’t set right or the grain starts bridging in the cone, but that’s just part of the process. I’ve spent more time troubleshooting my own mistakes than I have actually enjoying the finished product, but there is a specific kind of satisfaction in seeing a massive, functional structure that actually does what it’s supposed to do. Stop looking for the easy way out through some shortcut guide that hasn’t been tested in the field. Get out there, get your hands dirty, and build it right the first time.
Frequently Asked Questions
How do I stop the grain from bridging and getting stuck halfway down the hopper?
Bridging usually happens because your hopper angle is too shallow or your grain is too damp. I’ve spent way too many hours digging out stuck silos because I tried to save on materials. If you’re seeing a bridge, increase the slope. You need a steeper angle to ensure gravity actually does its job. Also, check your moisture levels; if the grain is clumping, no amount of geometry will fix a bad batch.
Can I use a different material for the walls if I don't want to use concrete for the whole thing?
You can, but don’t get sloppy. I’ve tried using corrugated steel panels for the upper sections to save on concrete costs, and it works fine as long as your base remains reinforced. The trick is ensuring the transition point between the concrete foundation and your alternative material is structurally sound. If you’re using timber or lighter steel, you still need that concrete ring at the bottom to handle the lateral pressure.
How do I know if my silo is actually big enough for the amount of grain I'm pulling in every month?
Stop guessing and start tracking your monthly intake. I stopped eyeballing it after I lost a week’s worth of harvest to an overflow. Take your average monthly tonnage and divide it by the bulk density of your specific grain. That gives you the volume you need. Then, add a 15% buffer for safety. If your calculated volume is higher than your silo’s capacity, you don’t need a bigger bin; you need a faster outflow.
