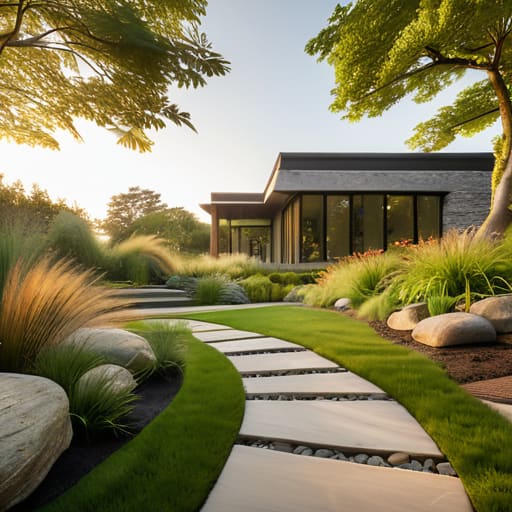
Most people think you need a massive library of custom shaders or a complex terraforming mod to make a base look natural, but that’s a lie. I’ve spent way too many hours staring at a massive stone fortress sitting awkwardly on top of a flat, featureless grass plain, realizing that my “epic” build looked like it had been dropped from orbit rather than actually being part of the world. Learning how to landscape around a build isn’t about adding more blocks; it’s about fixing the transition between the structure and the terrain so they actually belong together.
I’m not going to give you any of those flowery, vague tutorials that tell you to “be creative” without explaining the actual mechanics. I’ve spent the last week testing specific layer heights and block gradients on my current survival world to see what actually holds up under vanilla lighting. This guide is exactly what I used to fix my own perimeter: a step-by-step breakdown of grading the terrain, managing depth, and using natural block palettes to blend your foundation into the landscape without relying on texture packs or external tools.
Table of Contents
Guide Overview
Tools & Supplies
- Shovel for digging planting beds and trenches
- Rake for leveling soil and spreading mulch
- Wheelbarrow for transporting heavy materials
- Hand trowel for small-scale planting
- Garden soil or topsoil (5-10 bags)
- Organic mulch (3-5 bags)
- Perennial plants or shrubs (5-10 units)
- Landscape edging (1-2 rolls)
Step-by-Step Instructions
- 1. First, I clear out the immediate perimeter. Most people make the mistake of building right up against a flat grass block, which looks like a cardboard box dropped on a lawn. I use a shovel to create a shallow depression around the base of the walls. You aren’t digging a trench, just breaking up that perfect, artificial-looking flat plane so the structure actually looks like it’s sinking into the terrain.
- 2. Next, I establish the foundation height with coarse dirt and gravel. If I’m working on a stone build, I’ll mix in some gravel near the base to simulate erosion. I don’t use any fancy texture packs to help me see the block borders, so I rely on the natural color shifts between grass, dirt, and gravel to create a transition. This prevents that harsh, straight line where your wall meets the ground.
- 3. I then move on to “pathing” using a mix of shovel-paths and coarse dirt. I never just lay down a single material in a straight line; that’s how you get a highway that looks fake. I manually place blocks in a staggered, irregular pattern to mimic how players actually walk. If the path is too perfect, it looks like a developer asset rather than something that grew there.
- 4. Now comes the layering of vegetation. I don’t just spam bone meal and hope for the best because the random tall grass spawns can look messy and cluttered. Instead, I place individual pieces of grass, ferns, and berry bushes in specific clusters. I usually group them near the “corners” of my paths or tucked against the building’s foundation to break up the silhouette.
- 5. I add custom “decay” or weathering elements. Since I’m playing on the current version without any shaders to do the heavy lifting, I have to manually create depth. I’ll swap out some of the standard leaf blocks for moss blocks or even some coarse dirt to simulate areas of high moisture or foot traffic. It’s tedious, but it’s the only way to make the build feel lived-in.
- 6. Finally, I do a “distance check.” I fly up or walk about twenty blocks away and look back at the build. If the transition from the structure to the ground still looks like a sharp, mathematical line, I go back and add more irregularity. If it looks like a cohesive part of the biome, I’m done.
Mastering Grading for New Construction and Foundation Drainage Solutions
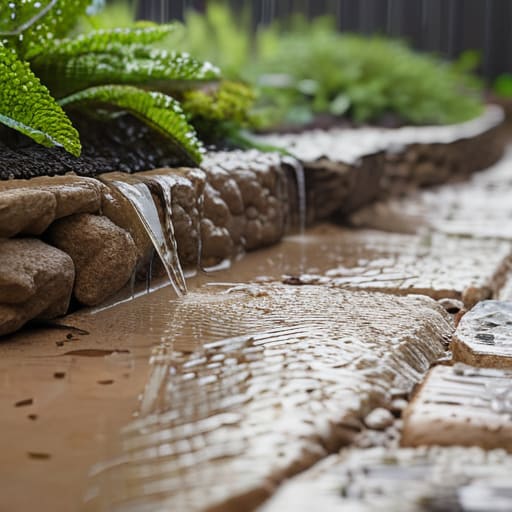
Most people treat the dirt around their base as an afterthought, but if you don’t get your grading for new construction right, you’re going to end up with a flooded basement or a muddy mess every time it rains. I learned this the hard way on my last survival world when I built a stone manor on a flat plain without accounting for slope. I spent three days manually placing dirt blocks just to ensure the ground sloped away from the foundation. You need to create a subtle incline that directs water toward your perimeter drains rather than letting it pool against your walls.
Once the slope is set, you have to think about your foundation drainage solutions before you even touch a shovel for decorative work. I don’t care how good a build looks if the structural integrity is compromised by water damage. I usually dig a shallow trench around the perimeter to act as a natural runoff channel, then fill it with gravel to keep the area clean. It’s tedious, and it isn’t exactly “fun” landscaping, but it’s the only way to ensure your build stays dry in the long run.
Perimeter Planting Ideas and Hardscape Design Principles I Actually Trust
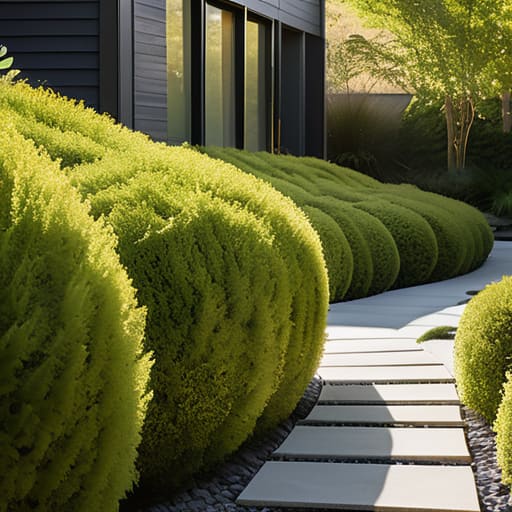
Once you have the grading sorted, you shouldn’t just throw random bushes against the wall and call it a day. I’ve seen too many builds where the greenery looks like it’s suffocating the structure. When I’m working on my own perimeter, I focus on layering heights. I start with low-profile groundcovers right against the edge to keep the view of the foundation clear, then move into mid-sized shrubs. This approach to perimeter planting ideas keeps the build from looking like it’s sinking into a pile of leaves.
For the transition between the structure and the yard, I stick to strict hardscape design principles rather than guessing. I usually opt for a clean stone border or a simple gravel path. It’s not about making it look “pretty” in a generic sense; it’s about creating a functional buffer. I’ve found that using a consistent walkway material selection—like slate or crushed granite—prevents the area from looking cluttered. If you don’t define that edge, the transition between your build and the natural terrain will always look unfinished and messy.
Things I stopped doing after ruining my own builds
- Stop using flat dirt paths; I learned the hard way that a build looks like it’s floating if you don’t use slabs or stairs to blend the ground into the foundation.
- Don’t over-plant near the walls; I used to cram bushes against the stone, but now I leave a gap so the actual architecture doesn’t get swallowed by green noise.
- Avoid the “symmetry trap”; just because your house is centered doesn’t mean your garden should be, so I always break up the lines with asymmetrical rock clusters.
- Stop ignoring the lighting depth; placing torches in a straight line looks amateur, so I’ve switched to hiding light sources under leaf blocks or behind low hedges.
- Don’t pick a single color palette; I used to just spam oak leaves, but now I mix different heights and textures to keep the perimeter from looking like a green wall.
The Bottom Line
Don’t just slap plants against a wall; you need to manage the slope of your dirt first to ensure water actually moves away from your foundation.
Use a mix of hardscaping and varied plant heights to break up the visual line where your build meets the ground, otherwise it looks like a box sitting on a flat plane.
Stick to what works in your specific terrain—if you haven’t manually tested a layout in your current build, don’t assume it’s going to look cohesive once the blocks are placed.
Getting the Final Result
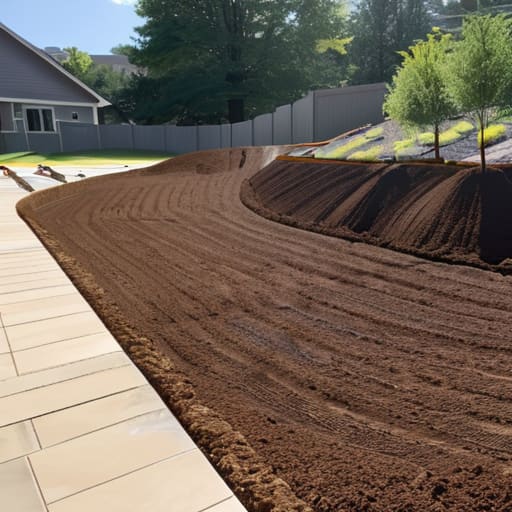
At the end of the day, landscaping isn’t about making things look pretty for a screenshot; it’s about making sure the work you put into your foundation actually lasts. I’ve seen too many people ignore the grading process only to watch their hard work get undermined by poor drainage or shifting soil a few months later. If you get the grading and drainage right first, then move into your perimeter planting and hardscaping, you aren’t just decorating—you’re building a stable environment. It’s a lot of manual labor and a lot of dirt under the fingernails, but following these specific steps ensures your build doesn’t end up looking like a mess of eroded edges and dying plants.
It’s easy to get overwhelmed when you’re staring at a massive patch of raw dirt surrounding a new structure, but don’t try to tackle the whole perimeter in one afternoon. I’ve learned through my own trial and error that patience is the most important tool in your kit. Take it one section at a time, test your slopes as you go, and don’t be afraid to move some earth twice if the first attempt doesn’t feel right. Once you step back and see the transition from the structure to the natural terrain, you’ll realize that the effort was worth it. Now, stop reading and go start digging.
Frequently Asked Questions
How do I stop the soil from washing away against my foundation after I've finished the grading?
You can’t just leave bare dirt against the foundation; gravity and rain will turn your grading work into a muddy mess within a week. I’ve seen enough slope failure on my own builds to know you need a physical barrier. I use a combination of heavy stone riprap or decorative gravel right at the base to break the water’s velocity, followed immediately by groundcover plants. If the roots aren’t there to knit the soil together, the grade is useless.
What's the best way to transition from a concrete slab to a garden bed without it looking like a messy line?
Stop trying to force a straight line. I’ve seen too many builds where a single row of gravel looks like a mistake. Instead, I use a “buffer” method. I’ll lay down a few irregular stones or a small, curved mulch path that breaks the hard edge of the slab. If you transition with a slight curve and a mix of textures—like some larger river rocks—it looks intentional rather than just a messy seam.
Are there specific plants I should avoid if I don't want the root systems messing with my drainage pipes later?
Don’t touch anything with aggressive, woody roots. I’ve seen people plant willows or large shrubs too close to a foundation, and it’s a nightmare when those roots inevitably find a crack in the drainage pipe. Stick to smaller perennials or shallow-rooted groundcovers. If you’re worried about the infrastructure, keep the heavy hitters at least five to ten feet back from your main lines. It’s better to have a boring garden than a flooded basement.
